
 Installation on Mac
Auto-creates a complete dev or test environment under macOS.
- Download and install Docker Desktop for your macOS version
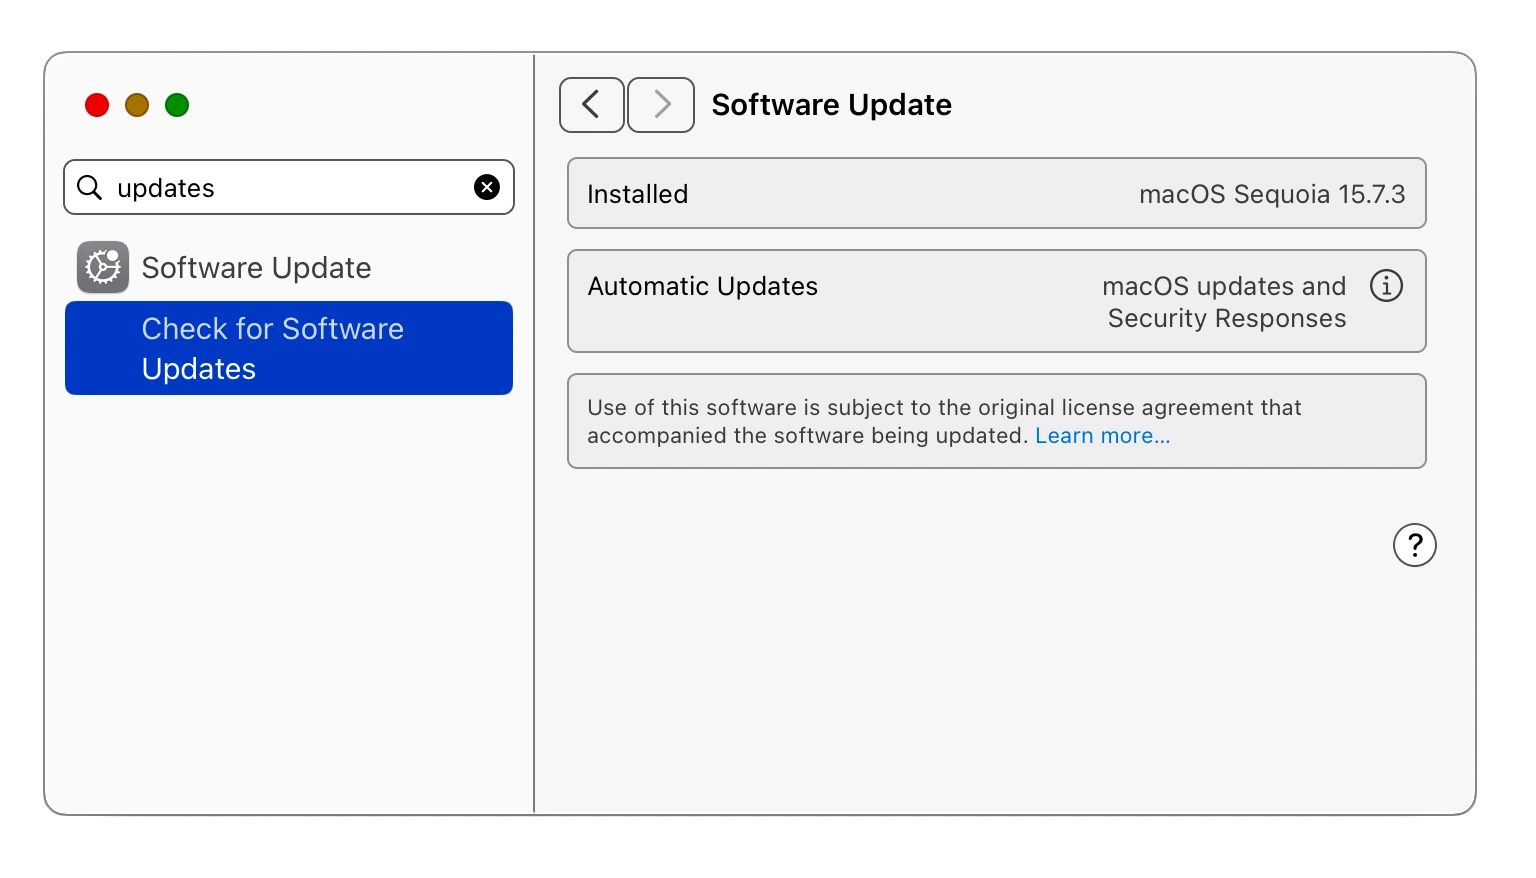
- If you have Apple silicon, make sure to install all the updates for your system because newest Docker versions may be incompatible with upatched macOS systems
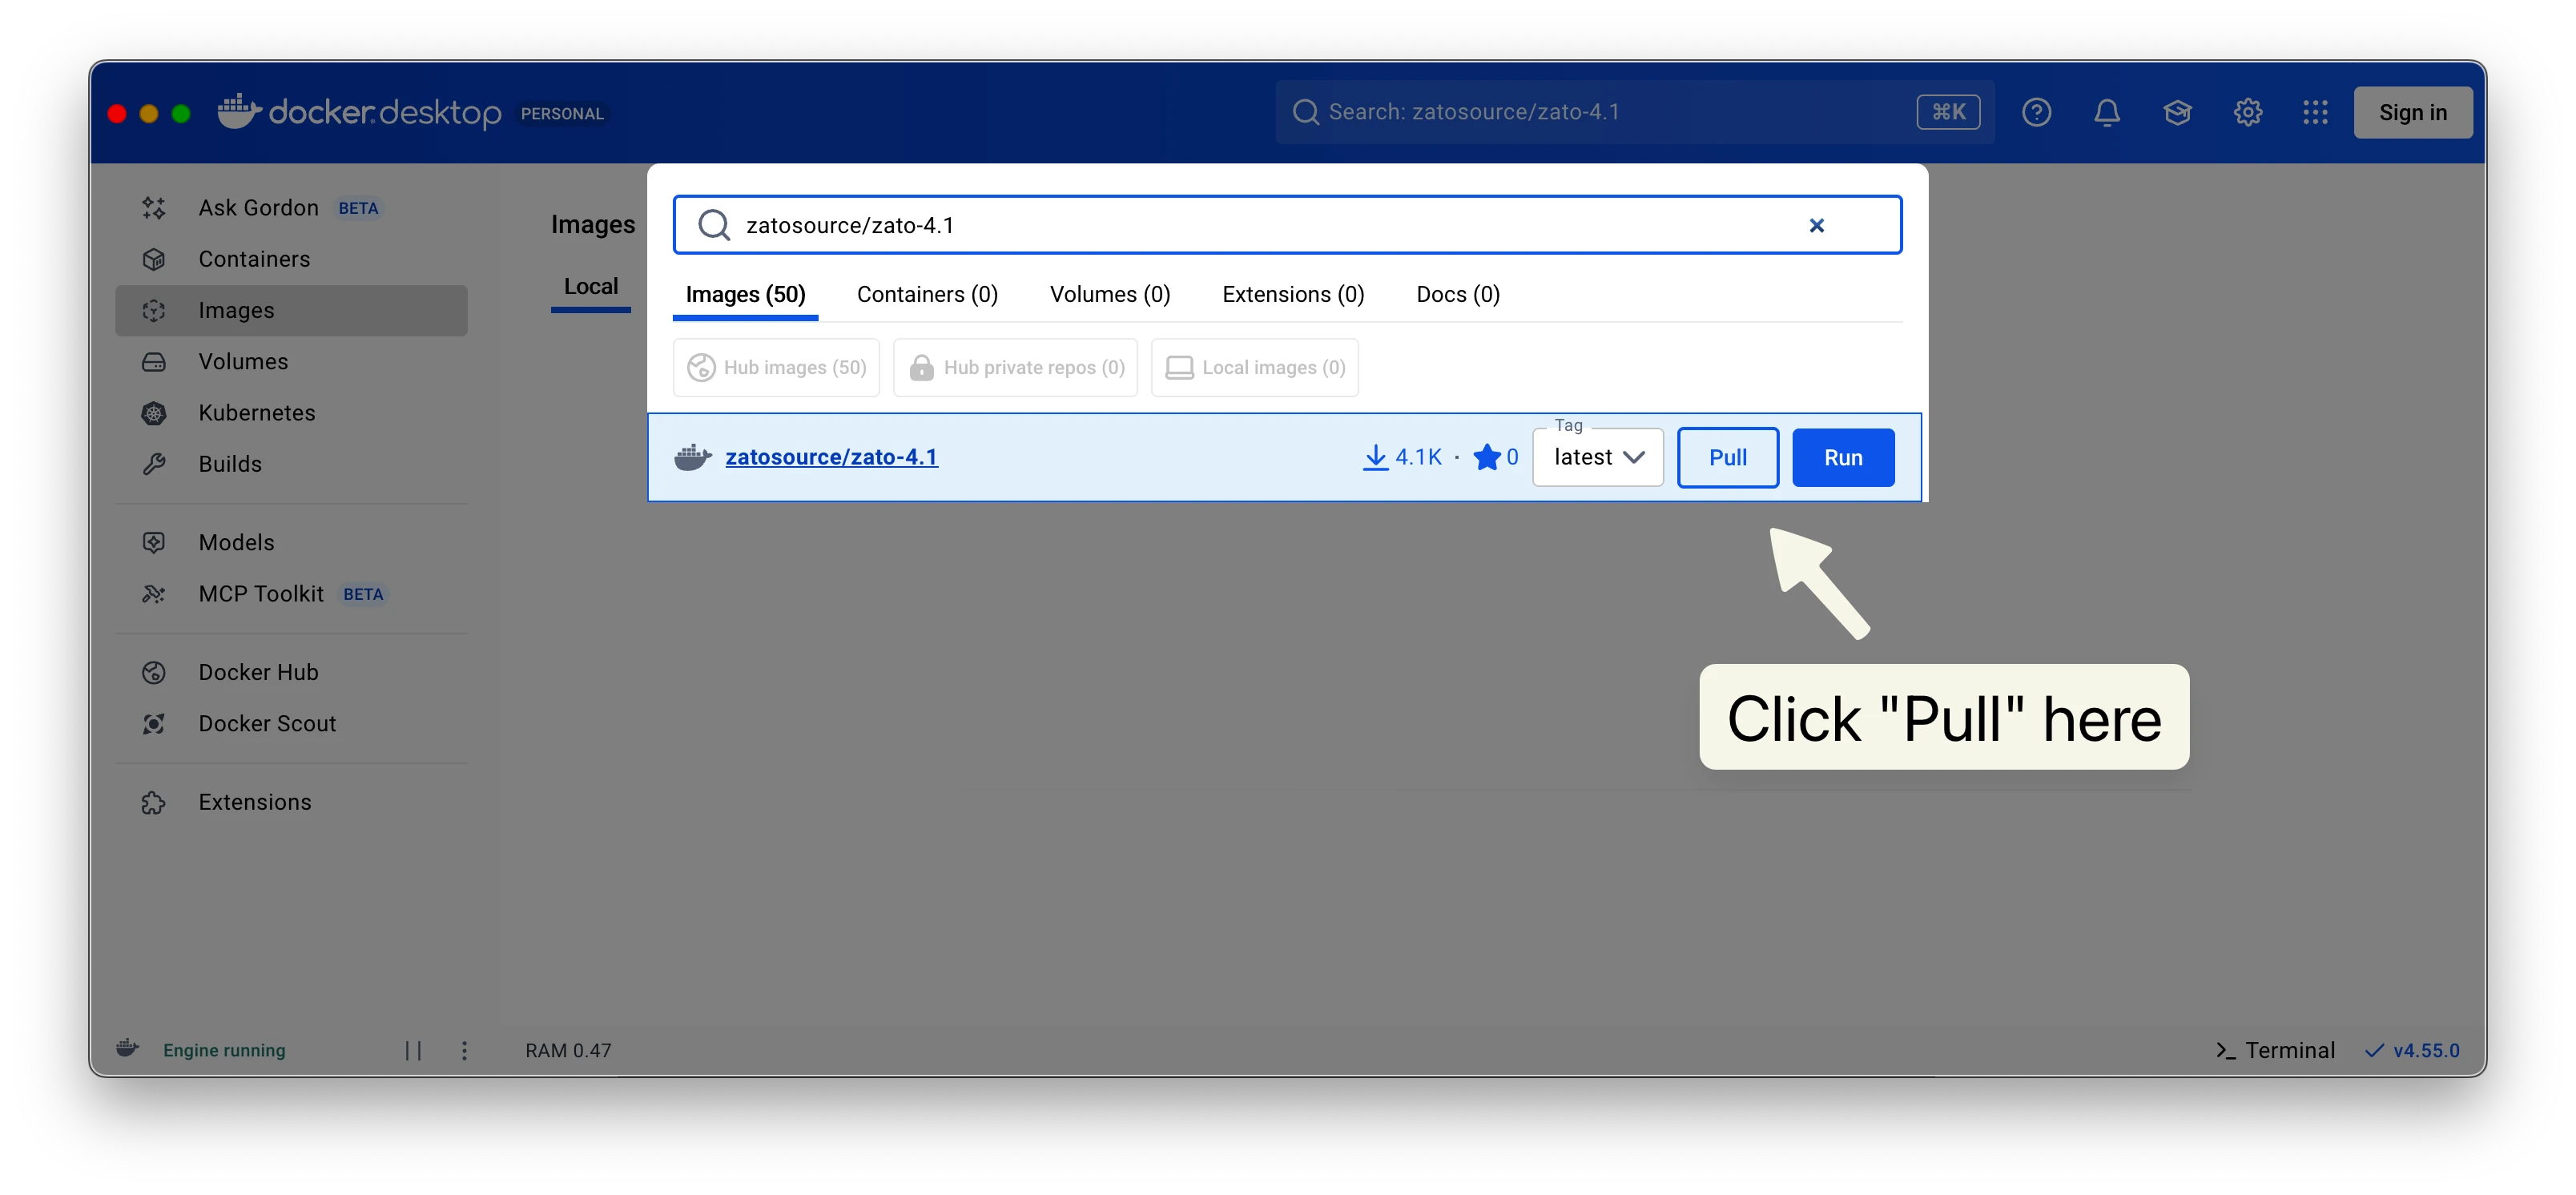
- Start Docker Desktop, look up an image called zatosource/zato-4.1 and pull it to your macOS

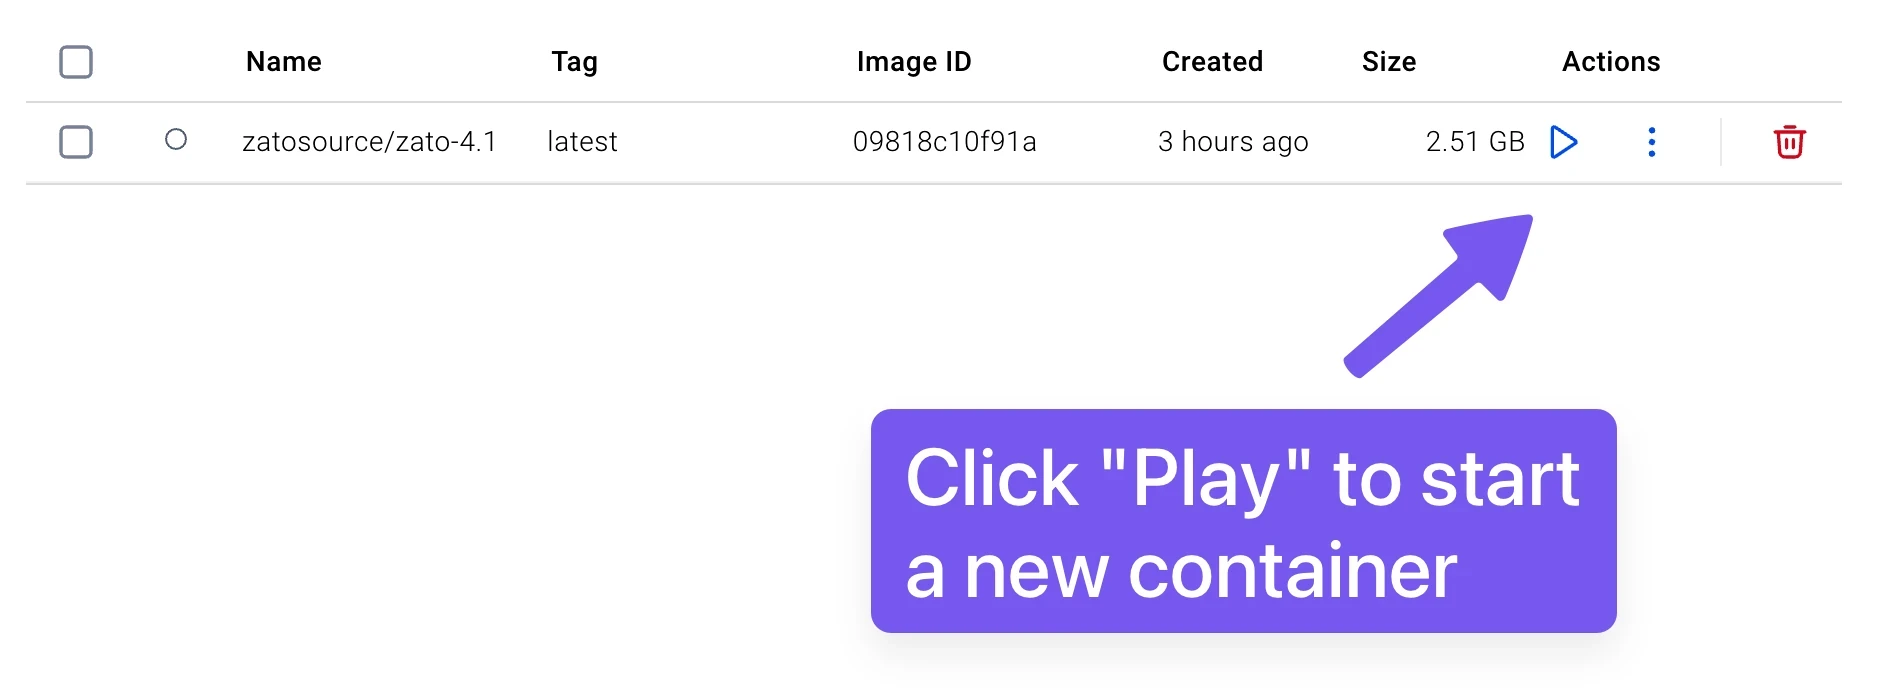
- Once the image is pulled, click Play to start a new container and fill out the settings:
- The container's name can be "Zato"
- Map port 8183 to 8183
- Map port 11223 to 11223 - the port that external REST clients connect to
- Leave all the other ports unmapped for now
- Add a new environment variable called "Zato_Password". Provide any value and it will become the password to your environment.
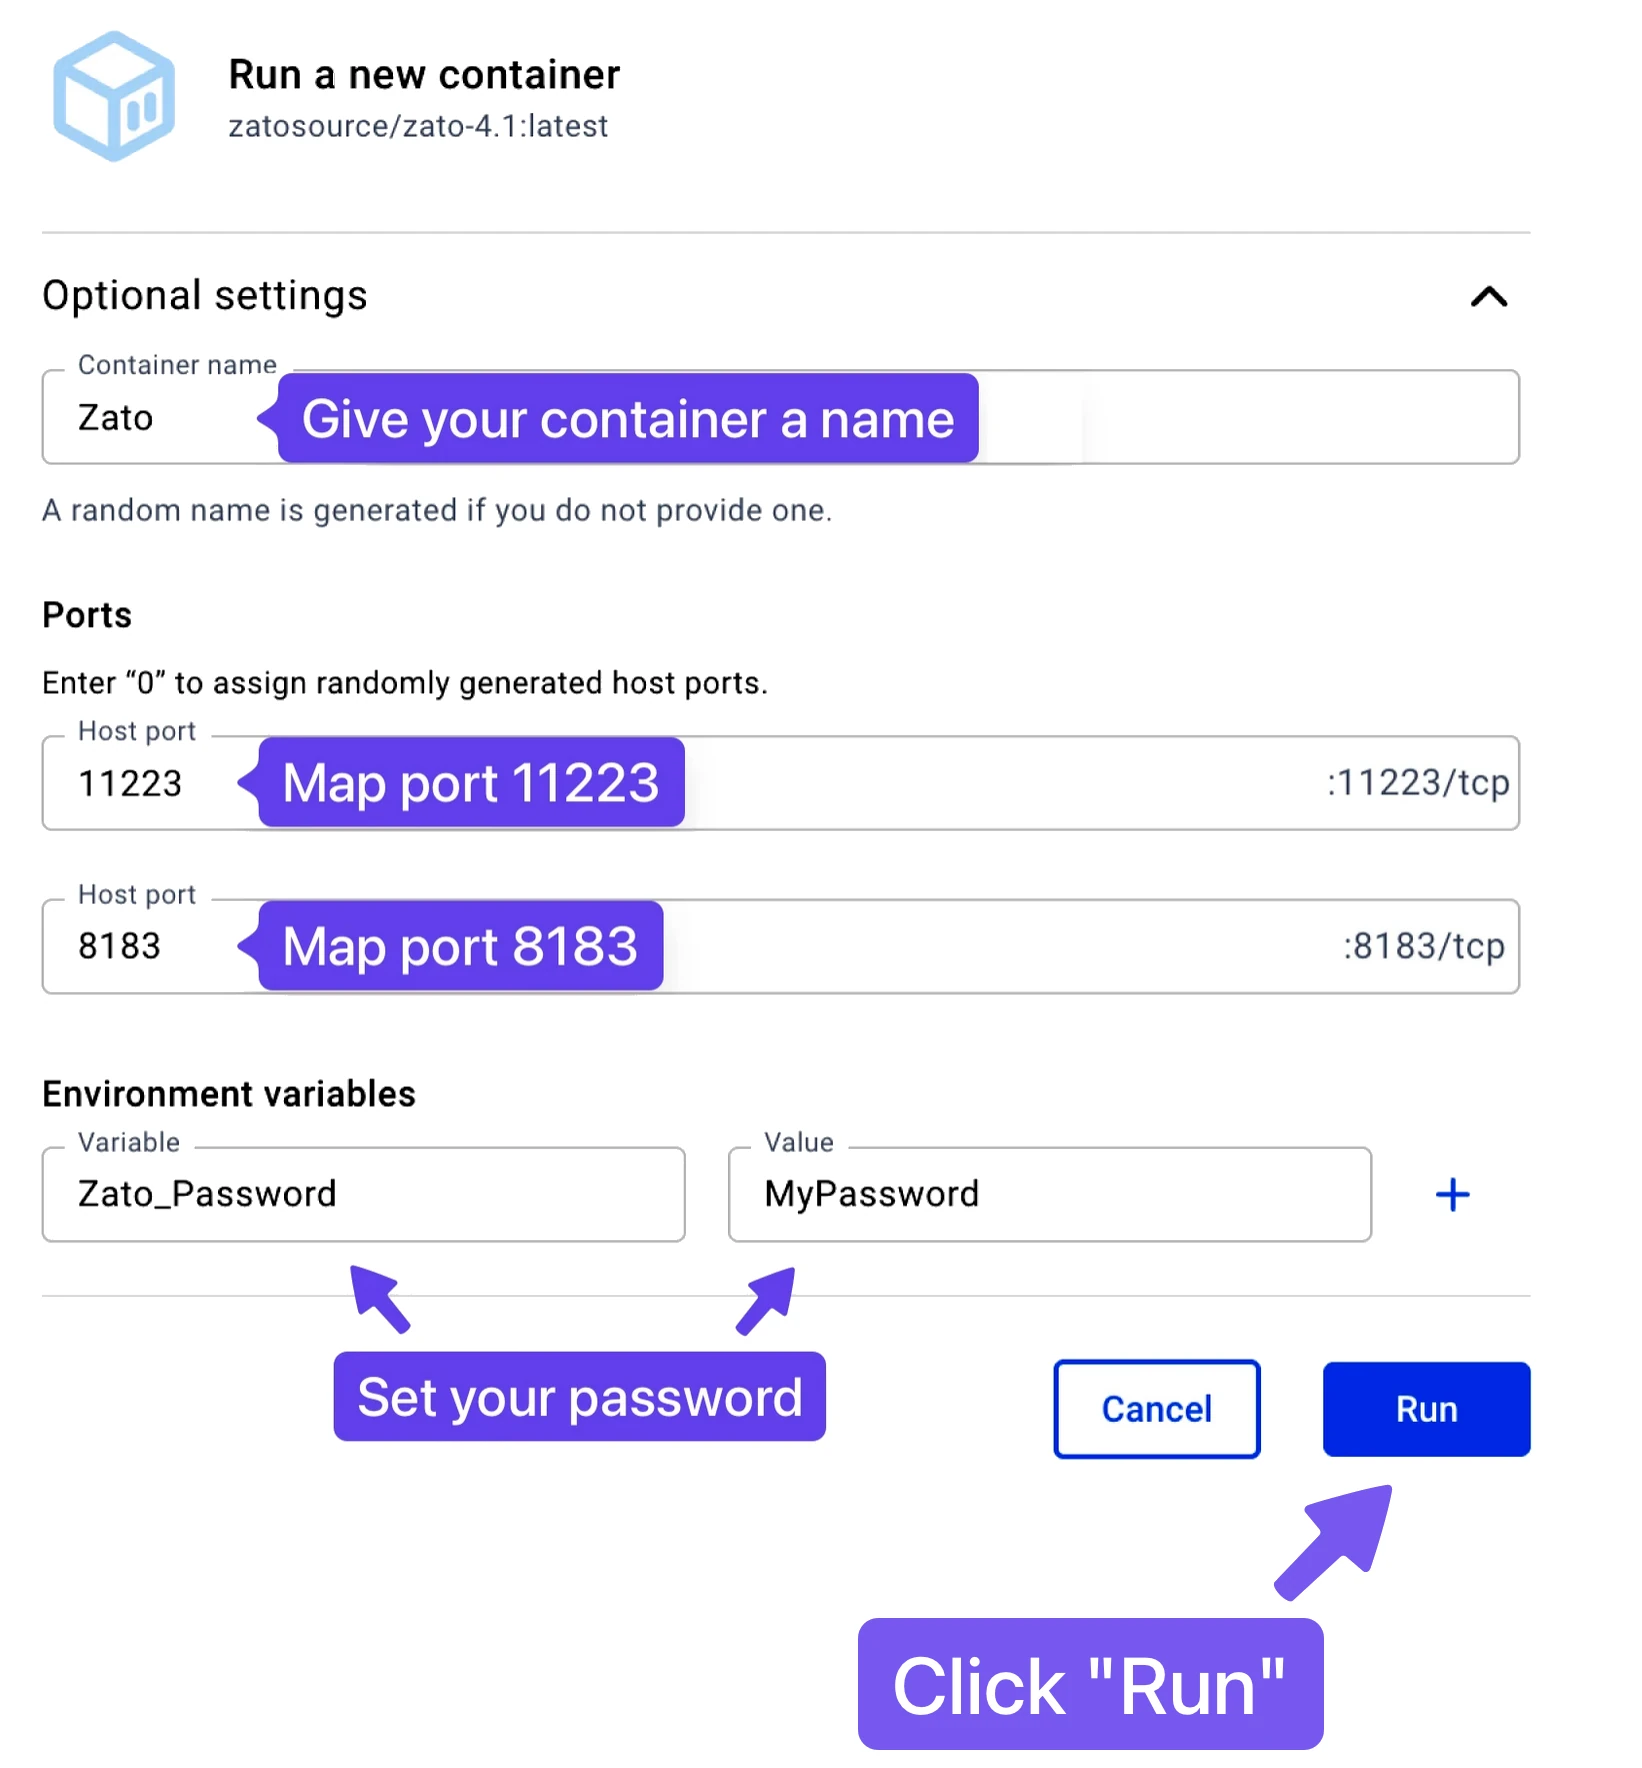
- Click "Run", wait for the container to start and log in to your Dashboard at http://localhost:8183
- Dashboard: http://localhost:8183
- Username: admin
- Password: The one that you set above

Using the command line instead
If you prefer Terminal to Docker Desktop, the same container starts with one command, with your own password given through the Zato_Password variable:
docker run --pull=always -it --rm -p 22022:22 -p 8183:8183 -p 11223:11223 \
  --name zato-4.1 -e Zato_Password=mypassword \
  zatosource/zato-4.1
The settings are the same as in Docker Desktop - the command maps the same ports and sets the same variable, and either way you install the same image.
Verify the environment
Confirm that the servers accept requests by calling the built-in ping endpoint from Terminal:
The environment is ready when the response is a JSON document like this one:
If the connection is refused, the container is still starting - give it a moment and check its log in Docker Desktop, the environment reports itself ready there.
What persists
Everything created only inside the container - services uploaded through the Dashboard, configuration never exported - disappears when the container is removed. Work that needs to survive belongs in a project directory on your Mac, mounted into the container, as shown in the deployment tutorial.
Next steps
- Start the in-depth tutorial - by the end of it you will have built, exposed and invoked a service of your own
- Or browse all the tutorials